Tutorial: Miniature Vintage Pocket-size Junk Journal
I just love mini junk journals! They’re so much less intimidating than standard-size or even passport-size journals. Not to mention they are so stinkin’ cute!
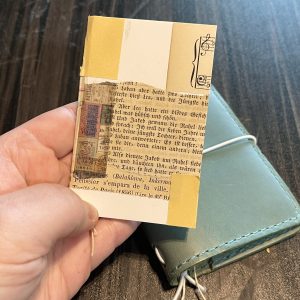
Here’s a quick and easy tutorial showing you step-by-step how to make one just like this.
Step 1: Gather your supplies.
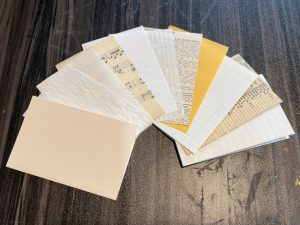
For this project you’ll need some various papers for the inside pages. I personally prefer to use a mix of different vintage typing papers (including onionskin), book pages, sheet music, and anything else I have on hand. For the cover, I recommend inexpensive poster board or heavy cardstock. You’ll also need 12-15” of cotton twine, an awl (optional), an embroidery needle, scissors, binder clips or paperclips, and a paper slicer (if possible).
Step 2: Cut your papers.
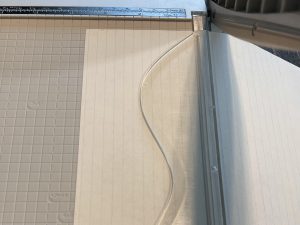
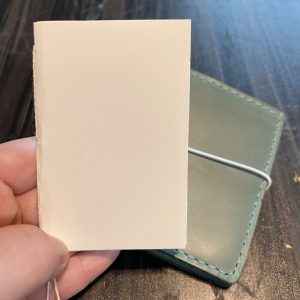
This journal measures just 3-5/8” tall and 2-3/8” wide when assembled, so I cut my papers and cover to 3-5/8” tall and 4-3/4” wide. For a small journal such as this, I recommend just using ten pieces of paper and the cover, which gives you a total of twenty 2-sided pages inside your book.
Step 3: Fold and arrange your pages.
Fold all of the pages and the cover in half. You may want to use a bone folder to get a nice, clean fold. If any of the vintage papers are fragile from age, I like to glue some washi tape along the fold to reinforce it. Once all ten pieces are folded, arrange them in whatever order you prefer, putting one inside the next, inside the next, and so on. I personally enjoy using onionskin typing paper as the first page inside the cover.
Step 4: Clip your pages in place.
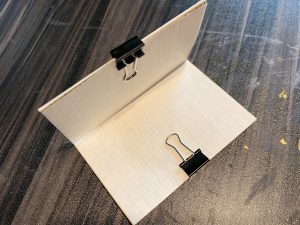
Double check to make sure you have your pages in the order you’d like and that they’re all upright and facing the way you prefer. Stack the pages together as tightly as you can and secure the edges with small binder clips or large paper clips.
Step 5: Prep the journal for sewing.
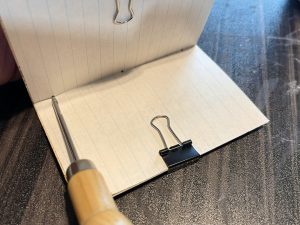
Once secured, use an awl to poke one hole in the center of the spine, one hole approximately 3/4” from the top, and one about 3/4” from the bottom.
Step 6: Use a pamphlet stitch to sew your journal.
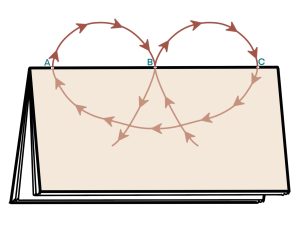
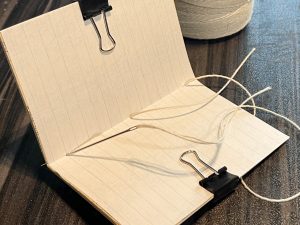
Thread your embroidery needle with the cotton twine. Start from the inside of of the journal and thread your needle through the center hole (B). Leaving a tail on the inside of the journal, go back through a hole at one side (C). Keeping the tail at the inside center, pull the thread over to the other side hole (A) and go back out towards the exterior spine. Go back through the center hole (B), making sure your twine goes to the opposite side of the twine going down the inside spine. Pull the twine tight and tie a square knot over the middle twine strand.
Step 7: Trim the edges (optional)
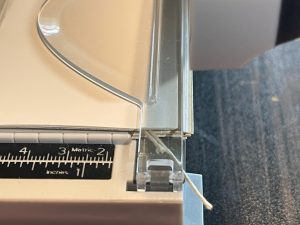
Use a guillotine paper slicer to square off the edges if you’d like.
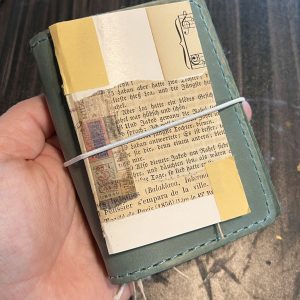
Finished! Now you have a mini junk journal that fits in the palm of your hand!
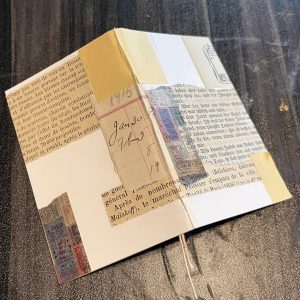
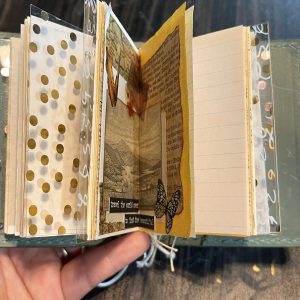
Now the fun part of decorating the cover and inside pages!

